Participants Management
Last updated: July 22, 2026
Participants are the heart of your tournament. MyCup provides tools for managing participants, teams, player rosters, and registration requests throughout your tournament.
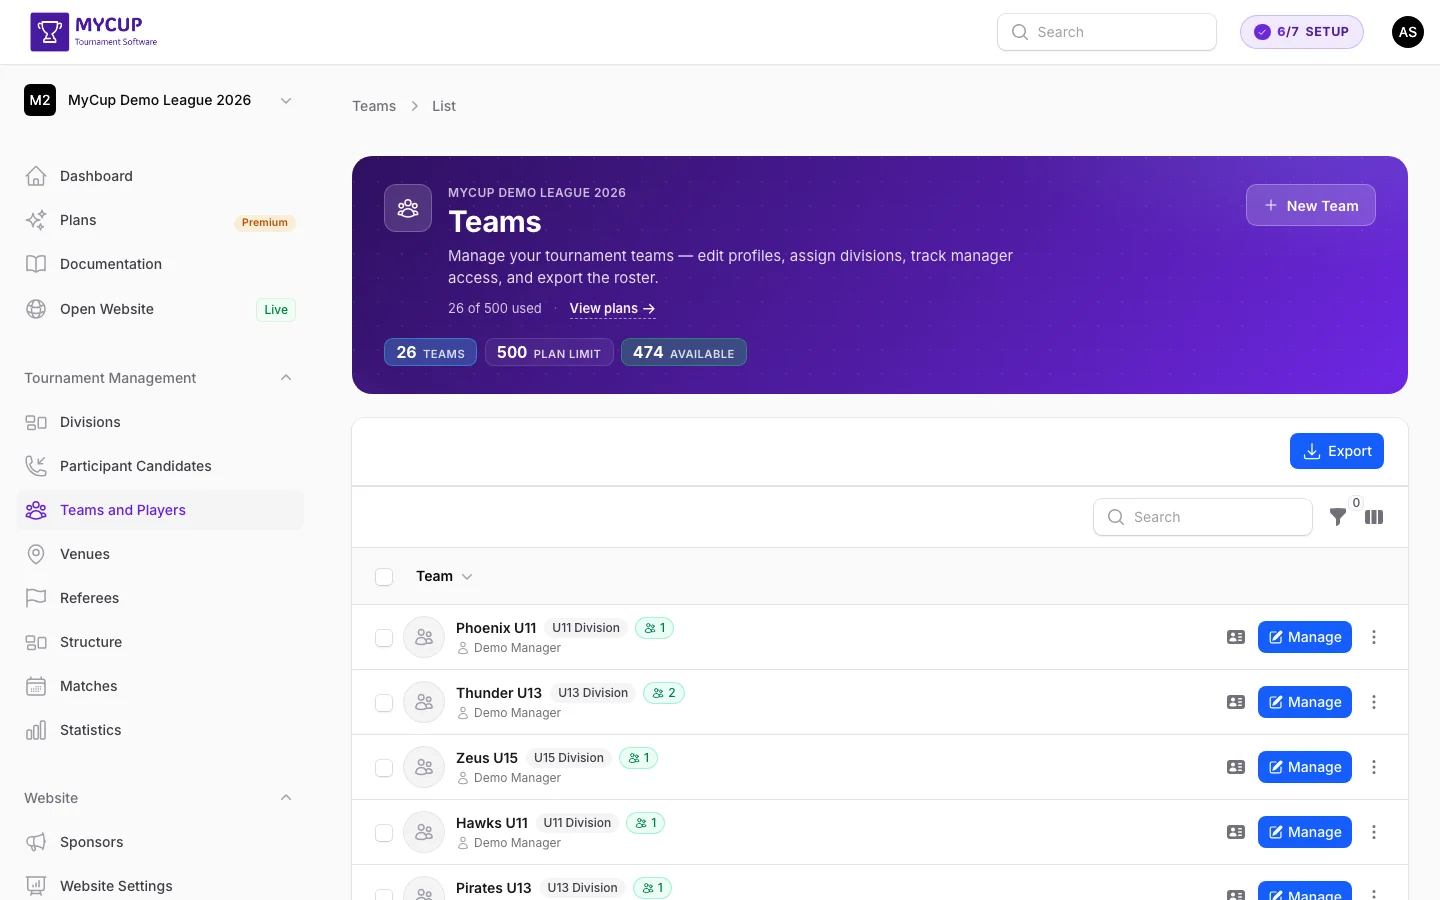
The Teams list header shows your current usage against your plan (for example, 3 of 8 used), where the limit is the maximum number allowed by your active plan. Click View plans to open the plan comparison and upgrade if you need more capacity.
Understanding Participants#
In MyCup, participants can be:
Individual Participants - Single competitors participating in individual sports (tennis, chess, esports players, etc.)
Teams - Groups of players competing together in team sports (football, basketball, volleyball, etc.)
The participant type is determined by your sport selection or sport configurations (for custom sports). Once set, the system will use the appropriate management interface for your tournament.
Teams and Player Rosters#
For team-based sports, each team can have:
- Team name and logo
- Team photo (displayed on the team's public page)
- Card color (accent color used on the public team card)
- Contact information
- Player roster with multiple players
- Group/bracket assignments
Teams maintain their own player roster where you can add, edit, and manage individual players who are part of that team. Teams can also have staff members (coaches, physiotherapists, etc.) managed separately from the player roster.
Adding Participants#
You can add participants to your tournament in two ways:
Direct Manual Entry#
Add participants directly to your tournament:
For Individual Participants:
- Navigate to Teams & Players in the sidebar
- Click "New Participant"
- Fill in participant details (name, contact info)
- Upload photo (optional)
- Save
For Teams:
- Navigate to Teams & Players in the sidebar
- Click "New Team"
- Fill in team details (name, contact info)
- Upload team logo (optional)
- Configure the Website Data section (optional) - fields displayed on the public tournament website:
- Card Color - accent color used as the gradient header on the team card on the public participants page. Leave empty to auto-generate a unique color from the team name
- Team Photo - displayed on the team's public page
- Description - rich-text description shown on the team's public page
- Save
Via Registration (Candidates)#
Enable public registration or add candidates manually, then convert them to participants. See the Registration Management section below for detailed information.
Managing Player Rosters (Team Sports Only)#
For team-based sports, you can manage player rosters within each team:
Adding Players to a Team:
- Go to Teams & Players in the sidebar
- Click Manage on the team
- Open the Players tab
- Add player information:
- Player name and number
- Position/role
- Photo (optional)
- Contact information
Roster Management:
- Add or remove players from the roster
- Set squad numbers
- Designate team captain
- Specify positions (goalkeeper, defender, etc.)
- Update player information
Managing Team Staff (Team Sports Only)#
Each team can also have staff members such as coaches, physiotherapists, and other support personnel:
Adding Staff to a Team:
- Go to Teams & Players in the sidebar
- Click Manage on the team
- Open the Staff tab
- Add staff member information:
- Name (required)
- Role (e.g., Head Coach, Physiotherapist)
- Date of birth (optional)
- Photo (optional)
- Additional info
Staff Management:
- Add or remove staff members (up to 30 per team)
- Assign roles to staff members
- Update staff information
- Staff members can also be managed by team managers via the Team Panel if enabled
Registration Management#
Enabling Public Registration#
Allow participants or teams to register through your tournament website:
To enable registration:
- In the Website Editor, open the Registration tab
- Toggle "Participant registration enabled" ON
- Configure registration settings (see options below)
- Click "Save" to apply changes
- The registration form will automatically appear on your public tournament website
Registration Configuration Options:
Basic Settings:
- Enabled from/to dates (optional) - Set a specific time period when registration is open. Leave empty to keep registration open indefinitely.
- Add to Top Menu - Display the registration link in your website's main navigation menu for easy access
- QR Code enabled - Display a QR code on the registration page for easy sharing and mobile access
- Participants can edit requests - Allow candidates to edit their registration submissions after they submit (must be enabled individually per candidate)
- Notification Email - Enter an email address to receive notifications when new registrations are submitted
Form Customization:
- Description - Add custom text/instructions that appear above the registration form to guide participants
Form Fields Configuration:
The following fields can be enabled or disabled based on your needs:
Always Required:
- Participant/Team Name
- Contact Name
- Contact Email
Optional Fields (toggle on/off):
- Phone Field - Collect contact phone numbers
- Logo/Photo Upload - Allow participants to upload their logo or photo (requires plan with image uploads feature)
- Payment Options - Create multiple payment options for participants to choose from:
- Add payment option titles (e.g., "Full Payment", "Installment Plan")
- Include descriptions for each option (e.g., "Pay the full amount upfront")
- Participants select their preferred payment option during registration
- Additional Information Field - Free-text field where candidates can provide extra details (max 2000 characters)
How Registration Works:
- Public Access: The registration form appears on your public tournament website (at
/registrationor via top menu if enabled) - Submission: Participants fill out and submit the registration form
- Email Notifications:
- Candidate receives confirmation email
- Admin receives notification (if notification email is configured)
- Review: Submissions appear in Candidates page with "Pending" status
- Approval: Tournament administrators review and manage candidates
- Conversion: Approved candidates are manually converted to participants/teams
Registration Availability:
Registration is available when:
- "Participant registration enabled" is toggled ON
- Current date is within the enabled date range (if dates are set)
- Tournament timezone is used to determine date validation
If registration is disabled or outside the date range, visitors will see a message that registration is not currently available.
Managing Candidates#
Candidates are registration requests that need to be reviewed and approved. They can come from two sources:
Public Website Registration:
- Participants fill out the registration form on your public website
- Submissions appear in Candidates
Manual Candidate Entry:
- Navigate to Candidates in the sidebar
- Click "Add candidate" to open a quick form and create entries by hand
- Useful for participants who contact you via email, phone, or other channels
All candidates (from public form or manually added) are managed in the same Candidates page.
Candidate Statuses#
Each candidate has a status that tracks their registration progress. Understanding these statuses helps you manage the registration workflow effectively:
Pending (Gray)
- Initial status when a registration is submitted
- Indicates the candidate is awaiting review
- Default status for new registrations
Under Review (Blue)
- Registration is actively being reviewed by administrators
- Use this to indicate you're processing the application
- Helps track which candidates need attention
Info Requested (Yellow/Warning)
- Additional information has been requested from the candidate
- Set the candidate as "editable" so they can update their registration
- Add notes explaining what information is needed
Approved (Green)
- Registration has been approved and meets all requirements
- Candidate is ready to be converted to a participant/team
- Final step before conversion
Converted (Primary/Purple)
- Candidate has been successfully converted to a participant/team
- This is a final status - candidate cannot be edited further
- Link to view the created participant/team is available
Rejected (Red)
- Registration has been rejected
- Use status notes to document the reason for rejection
- Consider deleting rejected candidates to keep your list clean
Withdrawn (Gray/Secondary)
- Candidate has withdrawn their registration voluntarily
- Can be set manually if candidate contacts you to withdraw
- Helps maintain a record of withdrawal vs rejection
Status Management Tips:
- Always add notes when changing status to document your decision
- Status history is automatically tracked for each candidate
- Use filters to view candidates by status
- Keep candidates informed by email about status changes
Converting Candidates to Participants#
Important: All candidates must be manually converted to participants/teams by the tournament administrator. This ensures you review and approve each registration before adding them to your tournament.
When a candidate is registered, a pending team is automatically created behind the scenes. This allows team managers to access the Participant Panel immediately — even before the candidate is approved. The pending team does not appear in your Participants list or count toward plan limits until converted.
Conversion process:
- Go to Candidates
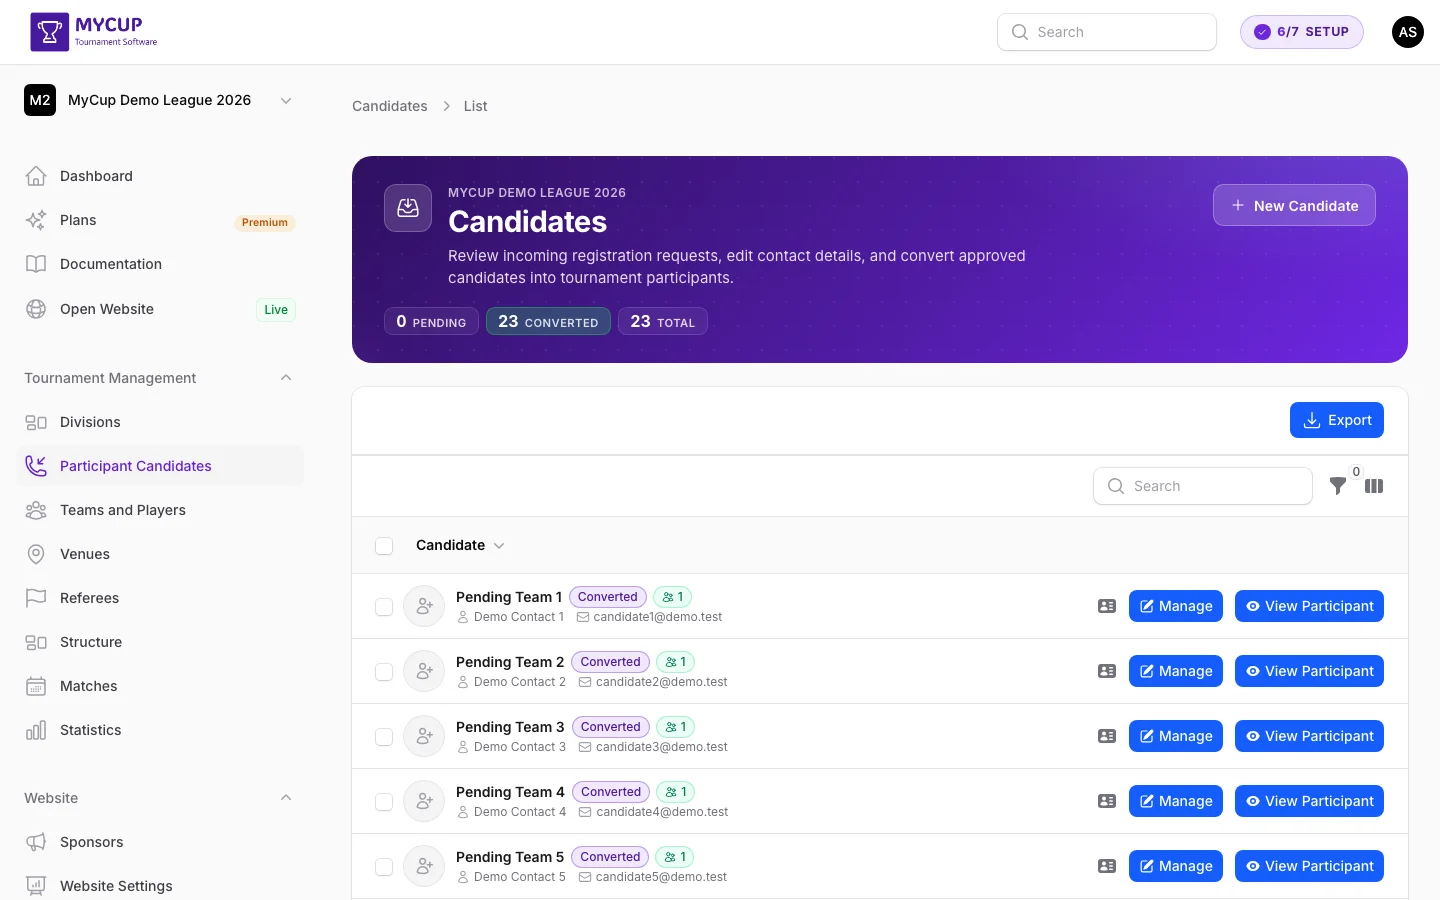
- Review the candidate row — status filter chips across the top show a live count for every status (All, Pending, Under Review, Info Requested, Approved, Converted, Rejected, Withdrawn), so you can jump straight to the ones awaiting a decision
- Click the green Convert button on the candidate's row
- The pending team is activated and appears in your Participants list
- Logo/photo and contact info are synced from the candidate
- Players and documents are preserved
- Confirmation email is sent to the candidate
- Team managers retain their access seamlessly
Once converted, the green Convert button is replaced by a View team link that opens the new participant/team's edit page.
To reject a candidate:
- Click the Reject button on the candidate's row. This marks the candidate as Rejected and moves them out of your review queue while keeping their record — you can still find them later under the Rejected filter.
- To remove candidates permanently, tick their checkboxes and use the delete action in the selection bar.
Candidates stay in the list until you convert, reject, or delete them. There is no automatic approval — you review and act on every candidate by hand.
Participant Information#
Participant Profiles#
Each participant (individual or team) has a profile including:
- Basic information (name, logo/photo, contact)
- Group/bracket assignments
- Match schedule
- Tournament status
Updating Information#
You can update participant information at any time:
- Contact details
- Logo/photo (and team photo for teams)
- Card color (for teams) - the accent color shown on the public participants page
- Player roster (for teams)
- Additional notes
Contact details at a glance — Both the Teams list and the Candidates list show each row's contact name, email, and phone inline, so you can scan them without opening anything. To change a team's details, click the Manage button on its row to open the full edit page. Rows only respond to their explicit action buttons — clicking elsewhere doesn't navigate anywhere.
Form Responses#
When the Team Panel is enabled, the participant edit page includes a Form Responses tab showing all custom form submissions from that team. You can export individual responses or all responses combined as PDF directly from this tab. See Team Forms for details on creating forms and managing responses.
Visibility on Public Website#
Control what's displayed on your tournament website:
- Show/hide participants on public website
- Display logos and photos
- Display team photos on team pages (for teams)
- Show player rosters (for teams)
- Tournament results and standings
Exporting Team Data#
You can export your roster to a CSV (spreadsheet) file straight from the Teams & Players page.
To export your roster:
- Go to Teams & Players in the sidebar
- Click the Export button in the page header to download every team, or tick the checkboxes on specific rows and use the Export action in the selection bar to export just those
- The CSV downloads automatically
Each row in the CSV holds a team's name, division, and contact details, plus a column for every team custom attribute you've defined.
See Exporting Team Data for full details, including how to export team form responses.
Common Participant Tasks#
Before Tournament Starts#
- Add all participants/teams manually or via registration
- Verify contact information
- Assign participants to groups or brackets
- Build player rosters (for team sports)
- Conduct team draw if needed
During Tournament#
- Update participant information if needed
- Add or modify player rosters within rules
- Track participant progress through phases
- Manage withdrawals if necessary
After Tournament#
- Review final participant data
- Archive tournament records
- Recognize achievements
- Collect participant feedback
Best Practices#
Data Quality#
- Verify contact information upon entry
- Require email confirmation for registrations
- Check for duplicate entries
- Keep records updated throughout the tournament
Organization#
- Use consistent naming conventions
- Add all participants before opening the Structure page — the structure builder slots them into groups and bracket positions
- Keep logos/photos at appropriate resolution
- Use high-quality team photos for better presentation on public pages
Registration Management#
- Set clear registration deadlines
- Respond to registration requests promptly
- Communicate clearly with pending applicants
- Send confirmation emails after approval
Next Steps#
Once your participants are added:
- Build the structure and generate matches: open the Structure page, place teams into groups or bracket slots (manually or via Draw teams), then build or save the structure — matches are produced from there, not from the Matches page
- Manage the schedule and enter results: use Matches & Scheduling to set dates, venues, and referees, and to record results
- Customize the public website: enable and configure your tournament site so participants and fans see the latest information
Your participants are the most important part of your tournament. Keep their information organized and up-to-date for a smooth tournament experience!
Was this page helpful?
Let us know if you found this documentation helpful or if you have suggestions for improvement.